
Strategies and Best Practices for Implementing Multilingual Support in Visual Builder Cloud Service
Prerequisites
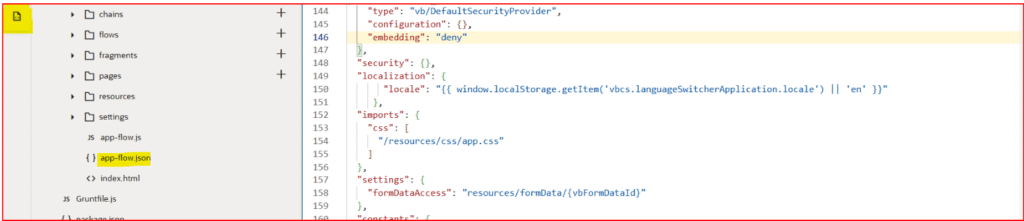
1. Adding the following to the app-flow.json file to define localization:
“localization”: { “locale”: “{{ window.localStorage.getItem(‘vbcs.languageSwitcherApplication.locale’) || ‘en’ }}” }
2. A JavaScript method used to set the variable we keep on the machine to store default locale:
PageModule.prototype.setAppLanguage = function(selectedLocale) { if (selectedLocale) { window.localStorage.setItem(‘vbcs.languageSwitcherApplication.locale’, selectedLocale); } }

Steps for Applying Localization
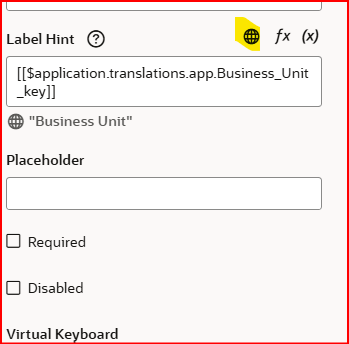
1. Before downloading the localization JSON file, make sure to navigate to the label hint section. There, click on the highlighted icon located just below the variables of the inputs or tables that you want to localize. This step ensures that the labels are properly marked for localization and included in the JSON file for accurate translation and implementation.
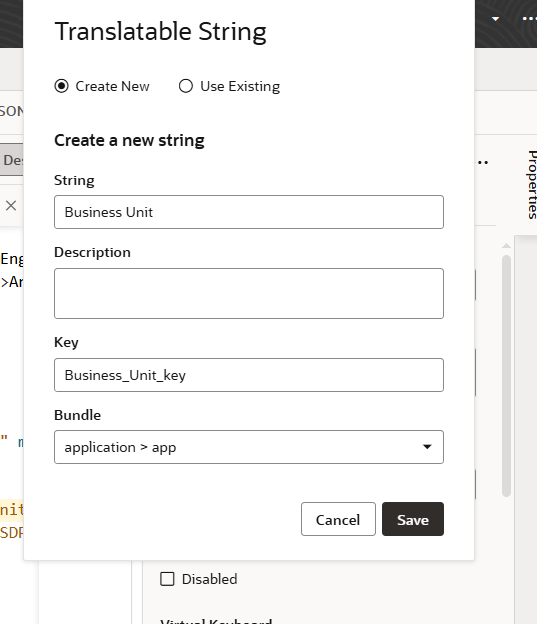
2. It is important to assign the correct key value to each variable to ensure accurate localization. After entering the appropriate key, be sure to click the save button to apply and store your changes properly. This step is crucial for maintaining consistency and enabling seamless translation across the application.
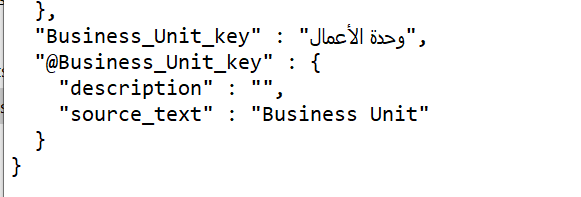
3. As you navigate to the app-Strings.json file, it is essential to verify that each key is correctly defined and corresponds to the intended variable. This verification process helps ensure that the localization strings are accurate and properly linked, facilitating a smooth user experience across different languages and regions.

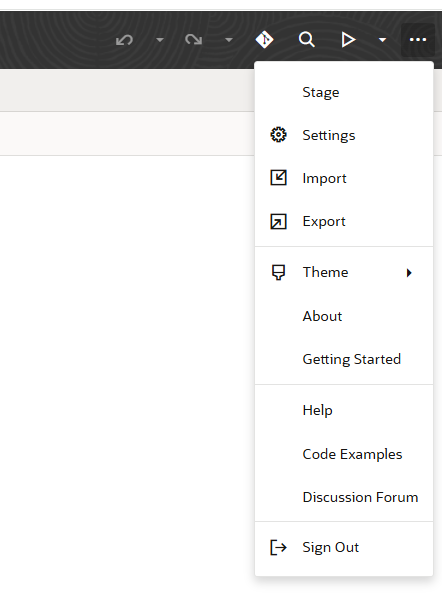
4. Once you have completed the previous steps, click on the three dots located in the top right corner of the application interface. From the dropdown menu that appears, select the “Settings” option. This will take you to the configuration settings where you can further customize and manage your application preferences.
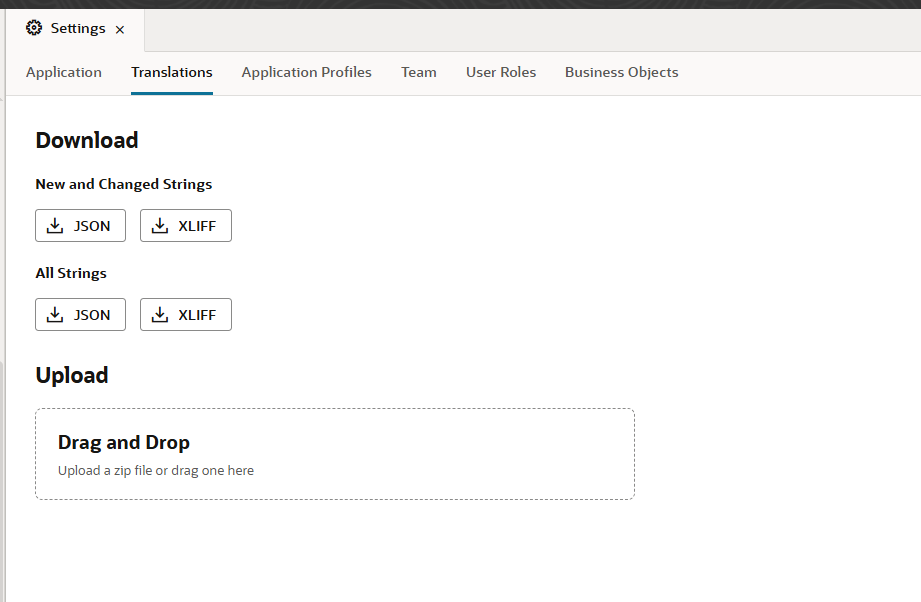
5. Next, navigate to the “Translations” tab within the settings menu. In this section, you will find the option to download the “All Strings” JSON file. This file contains all the localization strings used in your application, allowing you to review and edit them as needed for effective multilingual support.

6. Upon initiating the download, the system will generate a ZIP file containing the “All Strings” JSON file along with any other related localization resources. This compressed file format makes it easier to manage and transfer multiple files at once, ensuring that you have all the necessary components for your localization efforts in a single package.

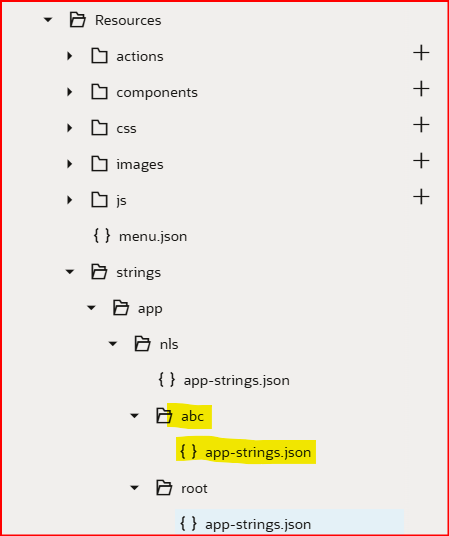
7. After downloading the ZIP file, unzip its contents to access the localization JSON files. Make a duplicate of the relevant JSON file, then add your language-specific values next to each key in this copy. Once updated, save this new file in the same folder as the original to keep your language variations organized and easily accessible for your application.

Here’s a more detailed and meaningful version of your note:
Note: When saving the duplicated file, ensure that you append a postfix indicating the language to the filename. For example, for French, the file should be named app_strings-fr.arb. This naming convention helps maintain clarity and organization, making it easy to identify the language associated with each localization file.
8. Once you have made the necessary modifications and saved the updated localization files, compress the entire folder into a ZIP file. After creating the ZIP file, return to the “Translations” tab in the application. From there, upload the newly created ZIP file to the same section where you initially downloaded the JSON file. This will allow the application to recognize and integrate your updated localization strings effectively.
9. After successfully uploading the ZIP file, you will be able to see the updated localization file reflected in the application. This confirmation indicates that your new language strings have been integrated, allowing you to verify and utilize the translations within the app. You can now proceed to test the application to ensure that the new language values are displayed correctly throughout the user interface.
Restart your application to see the changes.
— Written by Krunal Rawal